Category Archives: New (to me)

New Gee Whiz stuff I find

Evaluation: Amazon Kinesis

Amazon Kinesis didn’t require any installation of servers. The following steps, however, allowed it to run from my machine (see Install and Configure the AWS CLI)

curl "https://bootstrap.pypa.io/get-pip.py" -o "get-pip.py"
sudo python get-pip.py
sudo pip install awscli

Configuring –

AWS Access Key ID [None]: ******
AWS Secret Access Key [None]: ******
Default region name [None]: us-east
Default output format [None]: json

Running through tutorial –

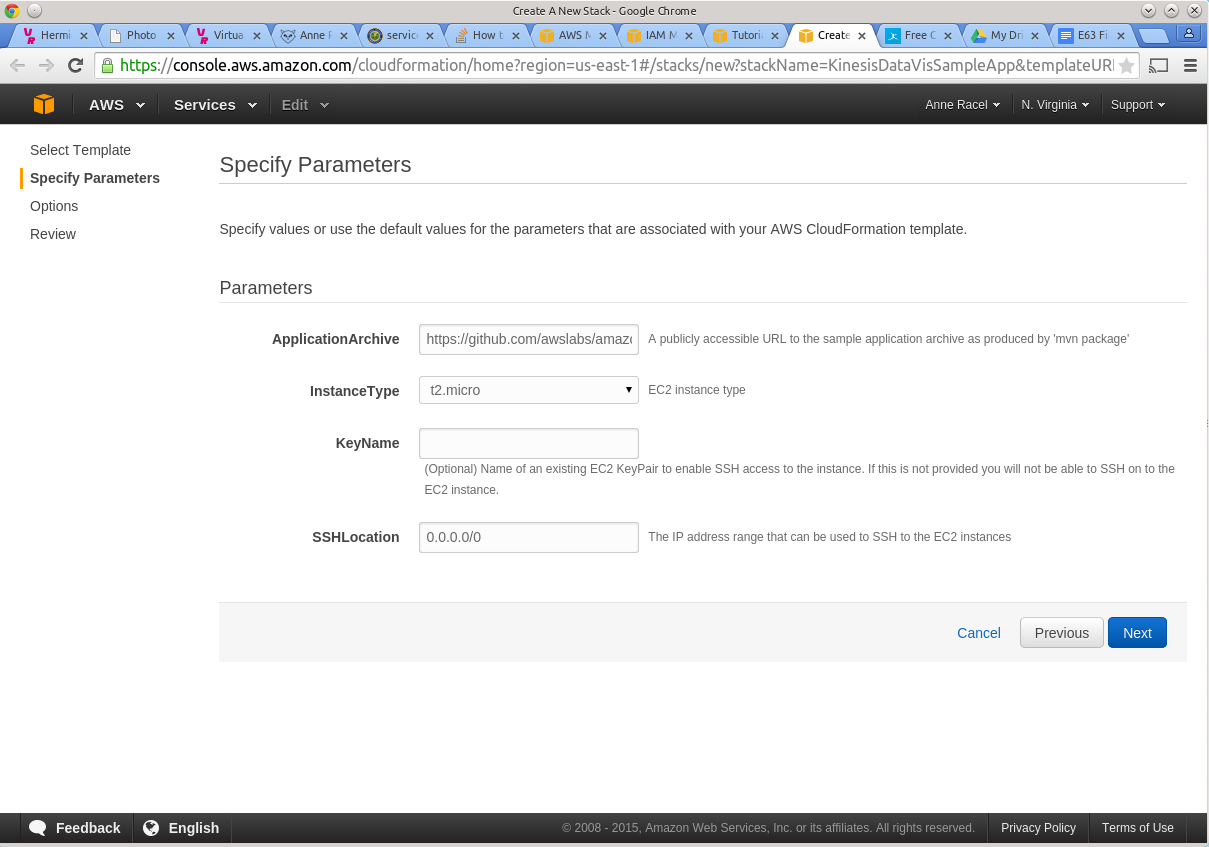
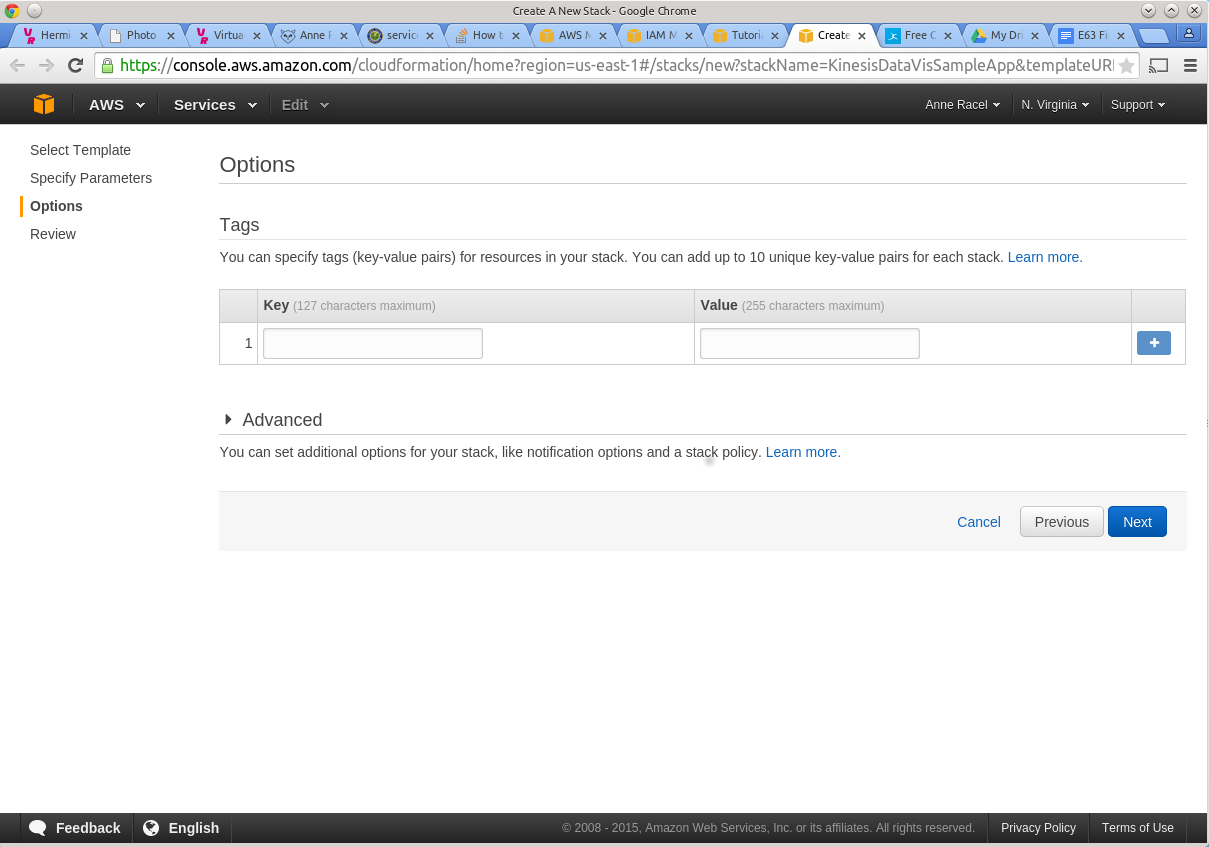
Launching AWS CloudFormation template:
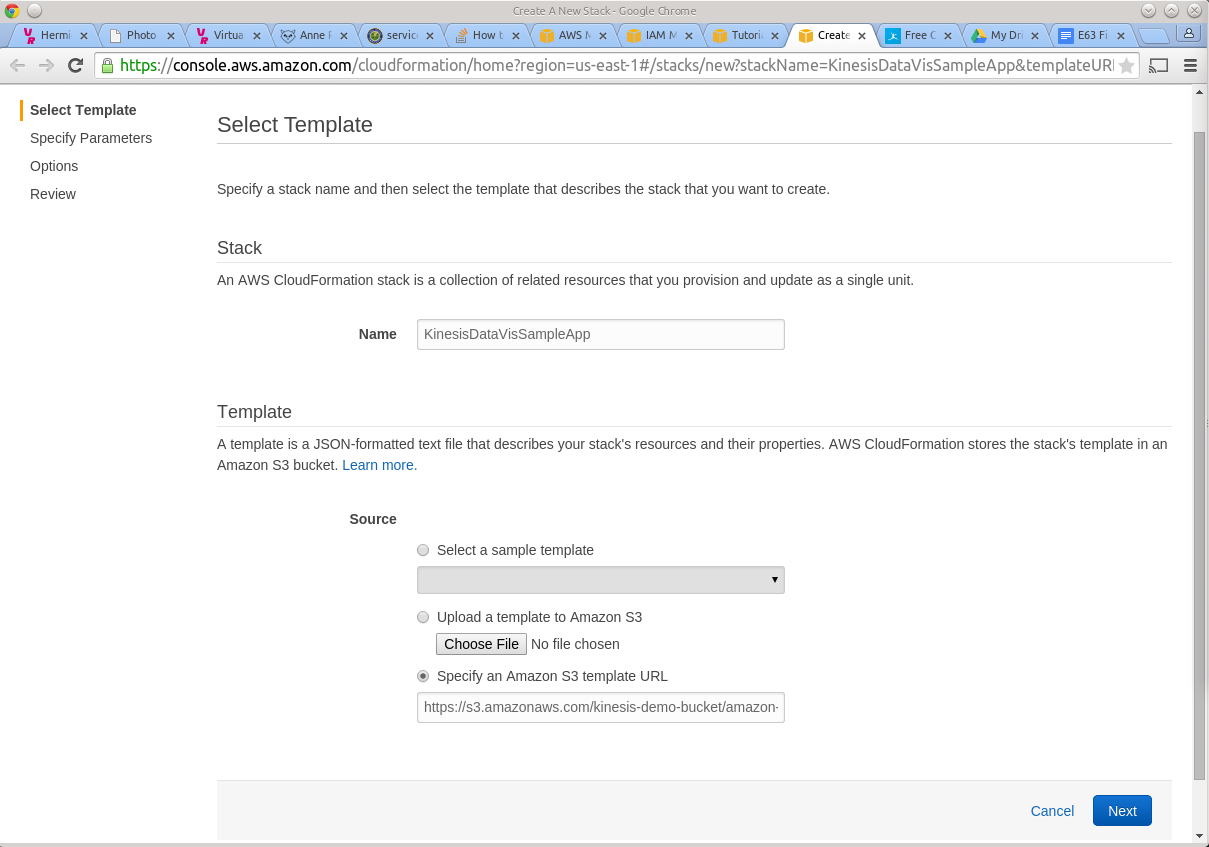
image001

image001

kinesis3

kinesis4

kinesis5

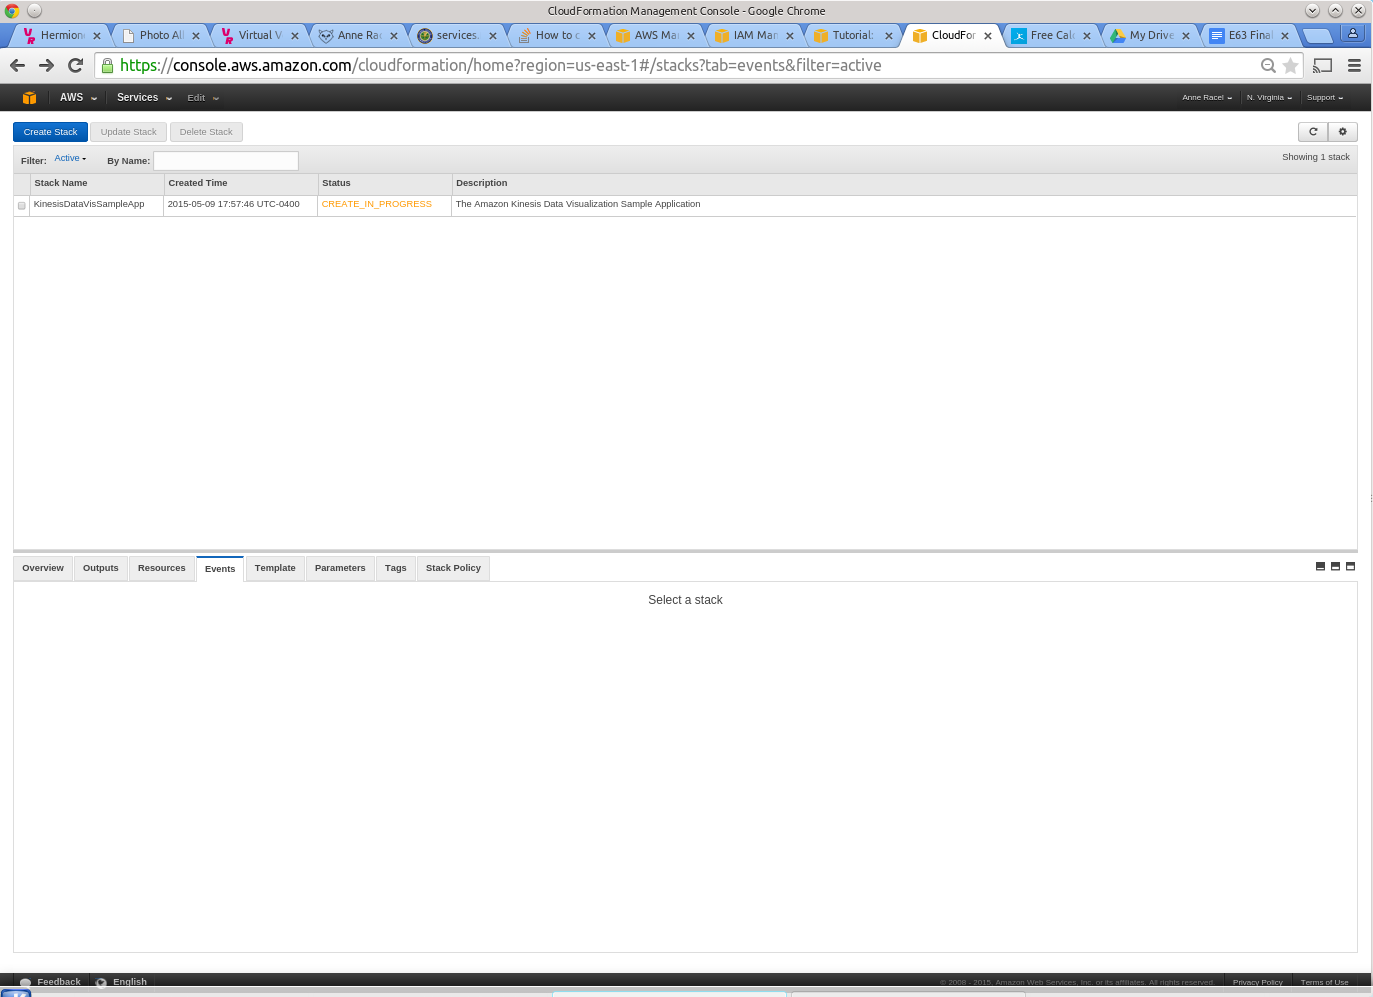
Stack created:

kinesis6

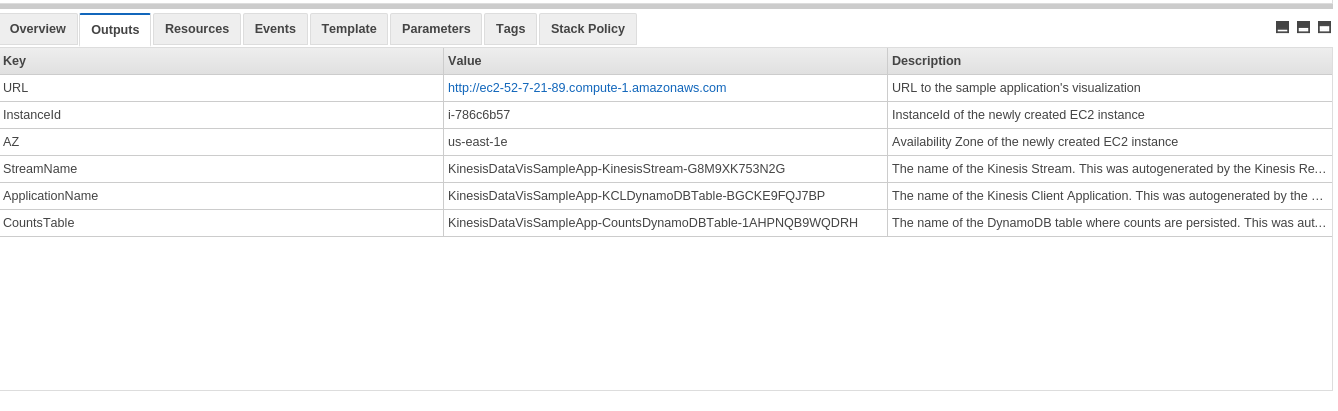
Output from stack:

kinesis7

Data graph:

kinesis8


Stream details (at https://console.aws.amazon.com/kinesis/):

kinesis9

kinesis10

Now I’m ready to write my app.

Ideally, the way that Kinesis is set up, I would guess I’d have to create a stream for each airport I was tracking, since each is a different URL. But that may get expensive, so we’ll start with two streams, one for JFK and one for BWI, since those are the airports most likely to be affected by tomorrow’s storm. Also, a cursory look at JFK today showed that they have delays currently due to construction (sample record):


{“delay”:”true”,”IATA”:”JFK”,”state”:”New York”,”name”:”John F Kennedy International”,”weather”:{“visibility”:0.75,”weather”:”Fog/Mist”,”meta”:{“credit”:”NOAA’s National Weather Service”,”updated”:”6:51 PM Local”,”url”:”http://weather.gov/”},”temp”:”59.0 F (15.0 C)”,”wind”:”Southeast at 6.9mph”},”ICAO”:”Kjfk”,”city”:”New York”,”status”:{“reason”:”RWY-TAXI / CONSTRUCTION”,”closureBegin”:””,”endTime”:””,”minDelay”:””,”avgDelay”:”1 hour and 11 minutes”,”maxDelay”:””,”closureEnd”:””,”trend”:””,”type”:”Ground Delay”}}

I’m following the “Learning Amazon Kinesis Development” while creating my application. First, I create a stream:

kinesis11

Next, I create a security policy:

kinesis12

I had an issue with the policy because I inferred from the instructions that the ‘account’ it wanted was my email address. But they wanted the account number:

kinesis13

kinesis14

Next step is to create an IAM user:kinesis15

I then attach the policy to the created user.


Now I download the sample code provided to use as a skeleton for my own version of the code, based on the text code used for both Apache Spark and Apache Storm. Getting this to run was much easier, partly because I’d defined the logic earlier, but also because the sample code provided made it easier to create. Here’s a sample of the first output:


May 10, 2015 12:22:30 PM edu.hu.faa.aws.writer.AirportStatusWriter sendAirportStatus
INFO: Putting trade: BWI: false
May 10, 2015 12:22:32 PM edu.hu.faa.aws.writer.AirportStatusWriter sendAirportStatus
INFO: Putting trade: MIA: false
May 10, 2015 12:22:33 PM edu.hu.faa.aws.writer.AirportStatusWriter sendAirportStatus
INFO: Putting trade: ORD: false
May 10, 2015 12:22:34 PM edu.hu.faa.aws.writer.AirportStatusWriter sendAirportStatus
INFO: Putting trade: ATL: false
May 10, 2015 12:22:35 PM edu.hu.faa.aws.writer.AirportStatusWriter sendAirportStatus
INFO: Putting trade: LAX: false
May 10, 2015 12:22:37 PM edu.hu.faa.aws.writer.AirportStatusWriter sendAirportStatus
INFO: Putting trade: BOS: false
May 10, 2015 12:22:38 PM edu.hu.faa.aws.writer.AirportStatusWriter sendAirportStatus
INFO: Putting trade: STL: false
May 10, 2015 12:22:39 PM edu.hu.faa.aws.writer.AirportStatusWriter sendAirportStatus
INFO: Putting trade: DFW: true
May 10, 2015 12:22:39 PM edu.hu.faa.aws.writer.AirportStatusWriter sendAirportStatus
INFO:
Reason for Delay: WEATHER / THUNDERSTORMS
May 10, 2015 12:22:40 PM edu.hu.faa.aws.writer.AirportStatusWriter sendAirportStatus
INFO: Putting trade: DEN: false
May 10, 2015 12:22:41 PM edu.hu.faa.aws.writer.AirportStatusWriter sendAirportStatus
INFO: Putting trade: SEA: false
May 10, 2015 12:22:43 PM edu.hu.faa.aws.writer.AirportStatusWriter sendAirportStatus
INFO: Putting trade: CLT: true
May 10, 2015 12:22:43 PM edu.hu.faa.aws.writer.AirportStatusWriter sendAirportStatus
INFO:
Reason for Delay: VOL:Multi-taxi
May 10, 2015 12:22:44 PM edu.hu.faa.aws.writer.AirportStatusWriter sendAirportStatus
INFO: Putting trade: JFK: false
May 10, 2015 12:22:45 PM edu.hu.faa.aws.writer.AirportStatusWriter sendAirportStatus
INFO: Putting trade: SFO: true
May 10, 2015 12:22:45 PM edu.hu.faa.aws.writer.AirportStatusWriter sendAirportStatus
INFO:
Reason for Delay: WX / LOW CIGS
May 10, 2015 12:22:46 PM edu.hu.faa.aws.writer.AirportStatusWriter sendAirportStatus
INFO: Putting trade: BWI: false
May 10, 2015 12:22:48 PM edu.hu.faa.aws.writer.AirportStatusWriter sendAirportStatus
INFO: Putting trade: MIA: false
May 10, 2015 12:22:49 PM edu.hu.faa.aws.writer.AirportStatusWriter sendAirportStatus
INFO: Putting trade: ORD: false
May 10, 2015 12:22:50 PM edu.hu.faa.aws.writer.AirportStatusWriter sendAirportStatus
INFO: Putting trade: ATL: false
May 10, 2015 12:22:52 PM edu.hu.faa.aws.writer.AirportStatusWriter sendAirportStatus
INFO: Putting trade: LAX: false
May 10, 2015 12:22:53 PM edu.hu.faa.aws.writer.AirportStatusWriter sendAirportStatus
INFO: Putting trade: BOS: false
May 10, 2015 12:22:55 PM edu.hu.faa.aws.writer.AirportStatusWriter sendAirportStatus
INFO: Putting trade: STL: false
May 10, 2015 12:22:56 PM edu.hu.faa.aws.writer.AirportStatusWriter sendAirportStatus
INFO: Putting trade: DFW: true
May 10, 2015 12:22:56 PM edu.hu.faa.aws.writer.AirportStatusWriter sendAirportStatus
INFO:
Reason for Delay: WEATHER / THUNDERSTORMS
May 11, 2015 8:59:21 PM edu.hu.faa.aws.processor.AirportStatusRecordProcessor checkpoint
INFO: Checkpointing shard shardId-000000000000
****** Shard shardId-000000000000 stats for last 1 minute ******
Airports Currently Delayed:
Count of Delays: ORD: 0 LAX: 0 MIA: 0 BOS: 0 STL: 0 CLT: 0 DEN: 0 SEA: 0 JFK: 0 DFW: 0 BWI: 0 ATL: 0 SFO: 0
Reasons for Delays:
****************************************************************

It’s not very exciting if there are no airport delays. I’ll check this periodically and, hopefully, have some to show for my video.

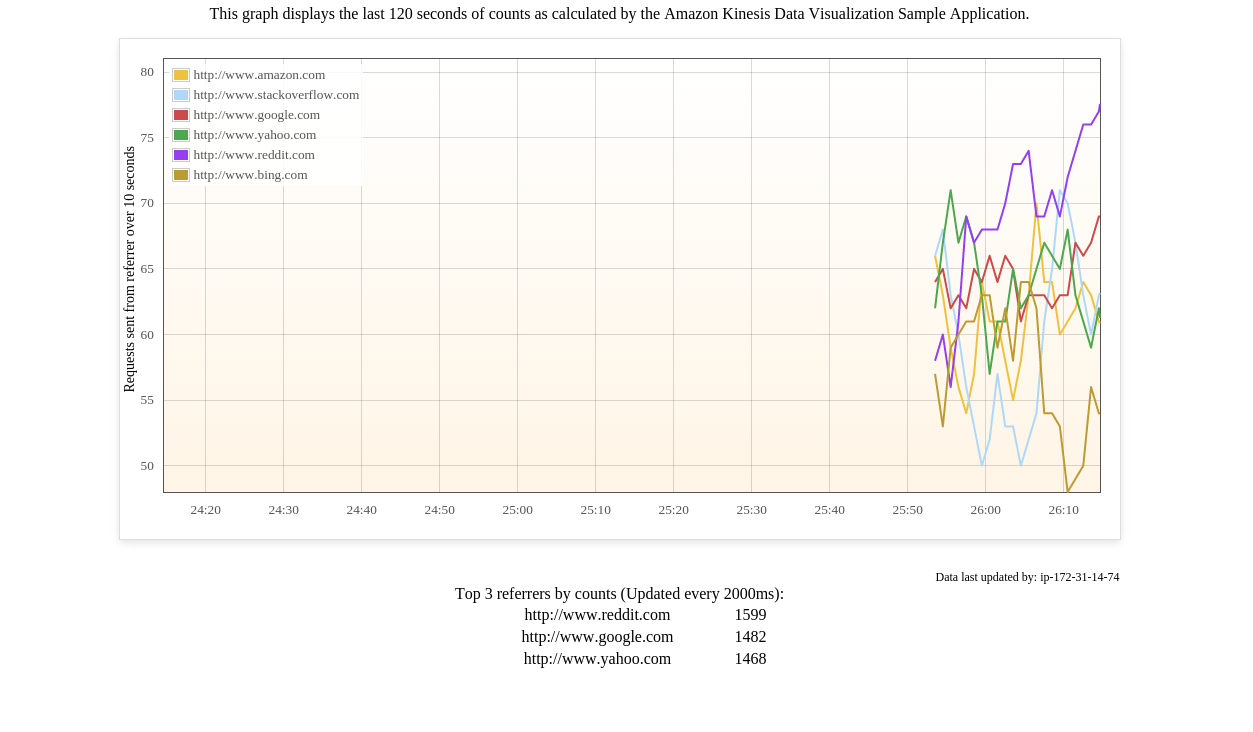
Here’s the current trending on the Kinesis stream dashboard:

kinesis16


Sample code for this demo is on gitlab: git@gitlab.com:amracel/FaaAws.git

Python and ElasticSearch

I’ve recently been working with a project that involved getting data out of an AWS ElasticSearch instance. I hearken back to my early days with Lucene, before Big Data was a buzzword.

I chose to use Python to accomplish this task, because it was to be a ‘quick’ item, so I didn’t want to use something heavy, like Java. And I wanted to become more familiar with Python.

Googling it, and checking StackOverflow, Python ElasticSearch and ElasticSearch-DSL seemed the modules best suited for accomplishing my goal. Problem was, although the documentation seemed extensive, the examples were limited, making it often difficult to accomplish what I needed to. Now that I’ve created several successful scripts using this library, I wanted to share them with everyone.

First Attempt

My first task included a number of aggregations that would be determined at runtime. I couldn’t find a way of making this work with the standard syntax provided. But there is a way to create a JSON object, then convert it for use in Python ElasticSearch. I found this code, which allowed me to create dictionaries for trees. It can then be converted to JSON using json.dumps. And the JSON object can then be fed into ElasticSearch.

My loop. Using this structure, I could modify the values at runtime:

 for i in range (1,len(mn_timestamps)):
 aggs['aggregations']['by_account']['aggs']['by_month']['filters']['filters'][mn_timestamps[i -1].label]['range']['execution'] = 'index'
 aggs['aggregations']['by_account']['aggs']['by_month']['filters']['filters'][mn_timestamps[i -1].label]['range']['TIMESTAMP']['gte'] = mn_timestamps[i - 1].timestamp
 aggs['aggregations']['by_account']['aggs']['by_month']['filters']['filters'][mn_timestamps[i -1].label]['range']['TIMESTAMP']['lt'] = mn_timestamps[i].timestamp

As stated in the documentation, terms that don’t exist are created when listed:

 search['query']['filtered']['query']['match_all']

Here’s the other instance I found this handy at this point. I couldn’t figure out how to get multiple filters added to the query. The dictionary to json method allowed me to do this easily. Notice that there’s another runtime variable. But since it’s only used once, I didn’t need the loop strucutre:

 timestamp = "{\'range\': { \'TIMESTAMP\': { \'gte\':" + str(mn_timestamps[0].timestamp) + ", \'lt\':" + str(mn_timestamps[ len(mn_timestamps) - 1].timestamp) + "}, \'execution\': \'index\' } }"
 hierarchy = "{ \'terms\': { \'hierarchy\': [\'" + account + "\'] } }"
 terms = "{ \'terms\': { \'VIEW_TYPE\': [ \'t1\', \'t2\',\'t3\' ] } }"
 search['query']['filtered']['filter']['bool']['must'] = [timestamp, hierarchy, terms]
 aggs['aggregations']['by_account']['terms']['field'] = 'ACCT_ID'
 aggs['aggregations']['by_account']['terms']['size'] = 0

Now convert the query from a dictionary/tree object into JSON:

 query = json.dumps(search) + json.dumps(aggs)

Here’s the original output:

{"query": {"filtered": {"filter": {"bool": {"must": ["{'range': { 'TIMESTAMP': { 'gte':1420070400000,
 'lt':1435708800000}, 'execution': 'index' } }", "{ 'terms': { 'hierarchy': ['account'] } }", "
{ 'terms': { 'VIEW_TYPE': [ 't1', 't2','t3' ] } }"]}}, "query": {"match_all": {}}}}}{"aggregations": 
{"by_account": {"terms": {"field": "ACCT_ID", "size": 0}, "aggs": {"by_month": {"filters": {"filters": {"201502": 
{"range": {"TIMESTAMP": {"lt": 1425168000000, "gte": 1422748800000}, "execution": "index"}}, "201503": {"range": 
{"TIMESTAMP": {"lt": 1427846400000, "gte": 1425168000000}, "execution": "index"}}, "201501": {"range": {"TIMESTAMP": 
{"lt": 1422748800000, "gte": 1420070400000}, "execution": "index"}}, "201504": {"range": {"TIMESTAMP": {"lt": 
1430438400000, "gte": 1427846400000}, "execution": "index"}}, "201505": {"range": {"TIMESTAMP": {"lt": 1435708800000, 
"gte": 1430438400000}, "execution": "index"}}}}}}}}}

Now the odd thing. I found that the object produced couldn’t be used directly. A few substitutions had to be done:

 query = query.replace("\"{","{")
 query = query.replace("}\"","}")
 query = query.replace("\'","\"")
 query = query.replace("}{",",")


Here’s the changed output. Note the bolded differences from above:

{"query": {"filtered": {"filter": {"bool": {"must": [{"range": { "TIMESTAMP": { "gte":1420070400000, 
"lt":1435708800000}, "execution": "index" } }, { "terms": { "hierarchy": ["account"] } }, { "terms": { "VIEW_TYPE": [ 
"t1", "t2","t3" ] } }]}}, "query": {"match_all": {}}}},"aggregations": {"by_account": {"terms": {"field": "ACCT_ID", 
"size": 0}, "aggs": {"by_month": {"filters": {"filters": {"201502": {"range": {"TIMESTAMP": {"lt": 1425168000000, 
"gte": 1422748800000}, "execution": "index"}}, "201503": {"range": {"TIMESTAMP": {"lt": 1427846400000, "gte": 
1425168000000}, "execution": "index"}}, "201501": {"range": {"TIMESTAMP": {"lt": 1422748800000, "gte": 1420070400000}, 
"execution": "index"}}, "201504": {"range": {"TIMESTAMP": {"lt": 1430438400000, "gte": 1427846400000}, "execution": 
"index"}}, "201505": {"range": {"TIMESTAMP": {"lt": 1435708800000, "gte": 1430438400000}, "execution": "index"}}}}}}}}}

Get the dictionary into our elasticsearch ‘terminology’ and run:

 qdict = ast.literal_eval(query)
 
 s = elasticsearch_dsl.Search(using=eclient, index='my_index').from_dict(qdict)
 response = s.execute()
Easy Queries

As I mentioned before, I had experience with Lucene queries from the past. So the next item to tackle was pretty easy for me. I used a simple Lucene query to accomplish my task:


query = "hierarchy: \"{0}\" AND TIMESTAMP: [{1} TO {2}]  AND (VIEW_TYPE: t1 OR VIEW_TYPE: t2 OR VIEW_TYPE:t3)".format(account, t_start, t_end)
    res = eclient.search(index=indx, q=query)

This query was the same as one would use in a Kibana interface to ElasticSearch.

Getting Around Pre-Determined Limits

The next hurdle I had to overcome was the limit of how many records could be returned: 10. Here, I had to go to the ElasticSearch documentation for an answer.  Again, I had to create a custom JSON object to handle the issue:

    query = '{"size":0,"query": {"filtered": {"filter": {"range": {"TIMESTAMP":'\
        + ' {"lt":' + str(end_date) +', "gte":' + str(start_date) + '}}}, "query": '\
        + '{"bool": {"must_not": [{"terms": {"VIEW_TYPE": ["t1", ' \
        + '"t2", "t3", "t4", "t5", "t5", "t6", "t6"]}}], "must": '\
        + '[{"match": {"hierarchy": "' + account + '"}}]}}}}, "aggs": {"by_account":'\
        + ' {"terms": {"field": "hierarchy", "size":300}, "aggs": {"by_product": {"terms": '\
        + '{"field": "PRODUCT", "size":30}}}}}}'
        
    print(query)
        
    response = eclient.search(body=query, index=indx)

Notice the size parameter added to the query.

Did I ever use the built-in ElasticSearch-DSL query builder? Well, I played with it. But I couldn’t necessarily find the specific quirks I needed handled. Here’s an example:

search = elasticsearch_dsl.Search().using(eclient).index(indx
    ).query("match", hierarchy=account
    ).query("bool", must_not=Q('terms', VIEW_TYPE=['t1','t2','t3','t4','t5','t6','t7','t8'])
    ).filter("range", TIMESTAMP={'gte': start_date,'lt': end_date})
          
search.aggs.bucket('by_account', 'terms',field='hierarchy')\
    .bucket('by_product','terms', field='PRODUCT')

This was the query I used, before finding that I had a 10 record limit on returns.

Setting Up Docker Compose with Wildfly and MySQL

We are trying to automate the installation of our software within Docker and it’s been my job to try to figure out how. This has been a learning process for me, since I had only looked at Docker before and had not delved into it too deeply.

For those who are as clueless as I was, Docker takes virtualization further. Rather than virtualizing a whole server, Docker works at the application level. Using this technology, a developer can create a application system that can be installed in another environment running Docker with much more ease. No more major configuration issues: it just works.

Docker is still quite new and Docker Compose is even newer, which means little is found on the Web outside the official website. So I’m hoping my results will help someone else.

I was trying to set up a Wildfly in one Docker instance, with our application deployed to it. I was trying to run a second instance with with MySQL and connect them together. Docker Compose made it possible to do this, and expose the database port to the Wildfly instance, without exposing it to the outside world. This, hopefully, would make the system more secure. It is still possible to run mysql commands, such as mysqldump, allowing backups to the filesystem outside of the instance. A bash shell is also possible so that mysql can be viewed through the command line. Mind you, MySQL’s port can be exposed, if that’s necessary for your needs. It wasn’t for mine.

Dockerfiles

I followed JBoss’ tutorial for Wildfly in the Docker environment. The first part of the tutorial shows how to Dockerize Wildfly, not exposing the management interface and using a mapped drive for deployed files.

FROM jboss/wildfly:latest

USER jboss

RUN /opt/jboss/wildfly/bin/add-user.sh admin [admin pw] --silent
# the following line was needed for my sample application
COPY jaxb-impl.jar /opt/jboss/wildfly/standalone/lib/ext
CMD ["/opt/jboss/wildfly/bin/standalone.sh","-b","0.0.0.0", -bmanagement","0.0.0.0"]

Notice that ports aren’t exposed within the Dockerfile for this instance. I handled that within the Docker Compose file.

MySQL’s Docker page was useful in getting my instance set up. The one big issue I had was trying to figure out how to set up my tables after creating the database within the context of the Dockerfile. Remember: my purpose is to try to automate this as much as possible. Without the ability to automate schema setup, the effort would have been made much more difficult.

I finally found in the documentation the ONBUILD option. This option allows a command to be inserted into the Dockerfile that is run after installation.

Here’s my MySql Dockerfile:

FROM mysql

ENV MYSQL_ROOT_PASSWORD [root pw]
ENV MYSQL_DATABASE [my database - created with installation]
ENV MYSQL_USER [my database user]
ENV MYSQL_PASSWORD [my database user password]

# copy over the script that creates my tables and populates them
ADD SpringTest.sql tmp/

# one line that took me hours to figure out
ONBUILD run mysql -uroot -p"$MYSQL_ROOT_PASSWORD" $MYSQL_DATABASE < tmp/SprintTest.sql

docker-compose.yml

Docker Compose allows the starting of several appliances at once, and the ability to easily link them together as if they were on a single machine. It’s not considered ‘ready for prime time’. But my simple tests showed nothing that would prevent me from utilizing this capability.

Here’s the content of my docker-compose.yml file:

web:
  image: jboss/wildfly
  ports:
    - "48080:8080"
  volumes:
    - /opt/DockerFiles/Compose/Wildfly/DeployedWars:/opt/jboss/wildfly/standalone/deployments/:rw
  links:
    - db
  environment:
    - DEBUG=true

db:
  # this allowed the building of the custom configuration I created above
  # which resides in a 'MySql' subdirectory
  build: MySql 
  # exposes the port to the shared appliance, but not to the outside world
  expose:
    - "3306"
  net: "bridge"

Application

I wrote a sample Spring application to test in this environment. The thing that needs to be noted is the database connection:

<bean id="dataSource" class="org.springframework.jdbc.datasource.DriverManagerDataSource">
  <property name="driverClassName" value="com.mysql.jdbc.Driver"/>
  <property name="url" value="jdbc:mysql://db:3306/SpringTest"/>
  <property name="username" value="[same as MYSQL_USER]"/>
  <property name="password" value="[same as MYSQL_PASSWORD]"/>
</bean>

Hopefully, this will save someone else some headaches. Leave a comment if you need more help to get your instances working.